Astrophotography
Astronomy
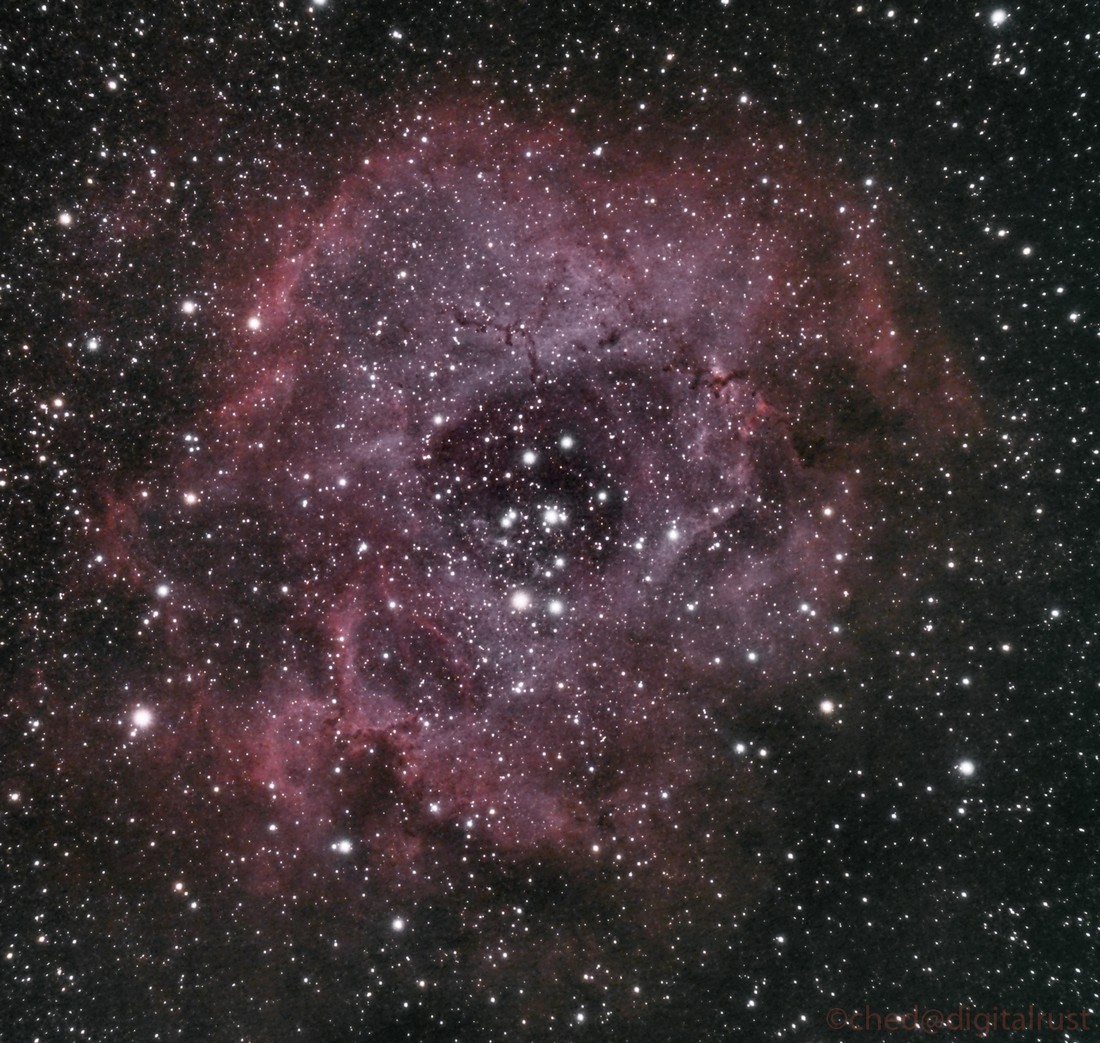
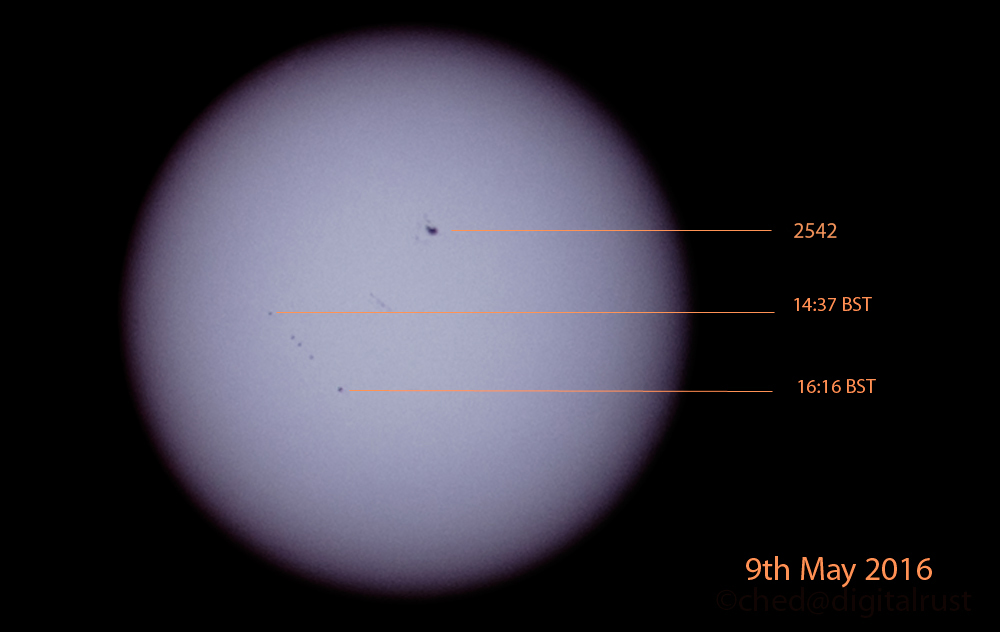
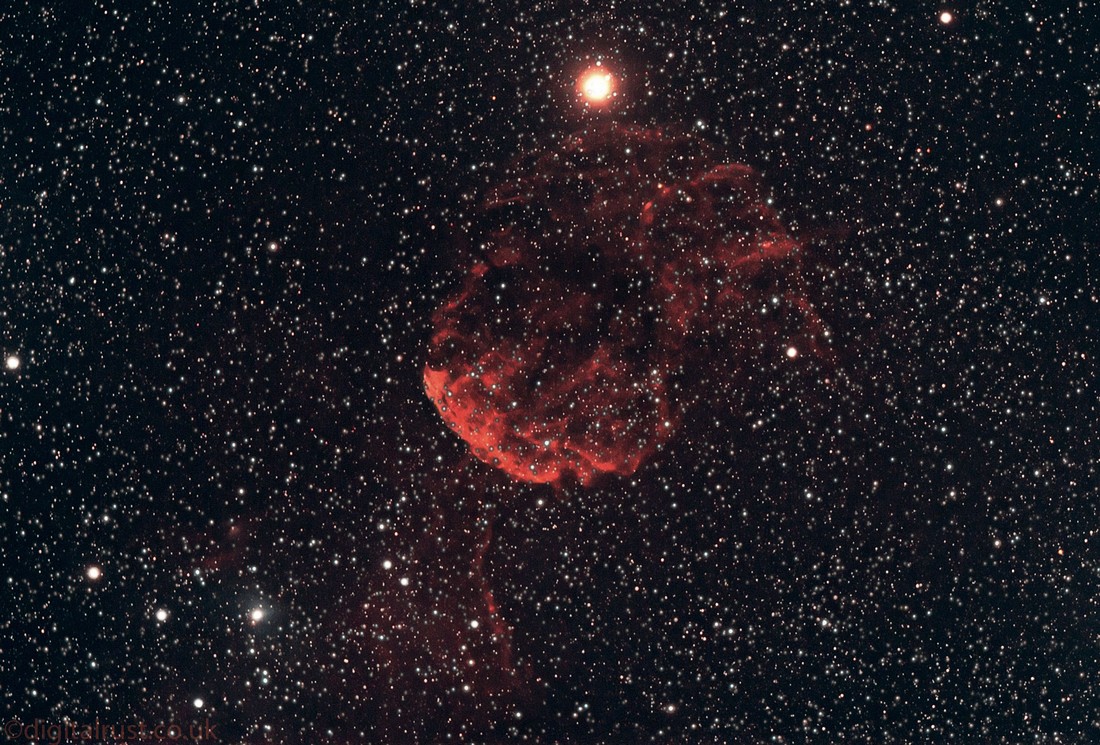
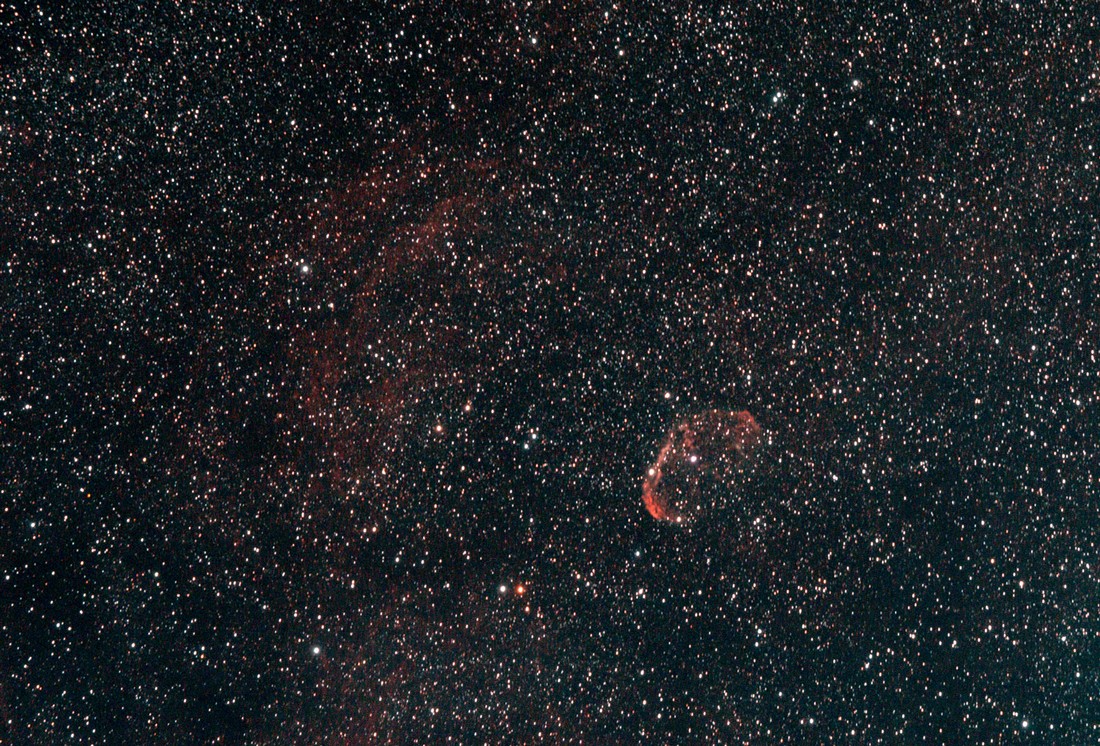
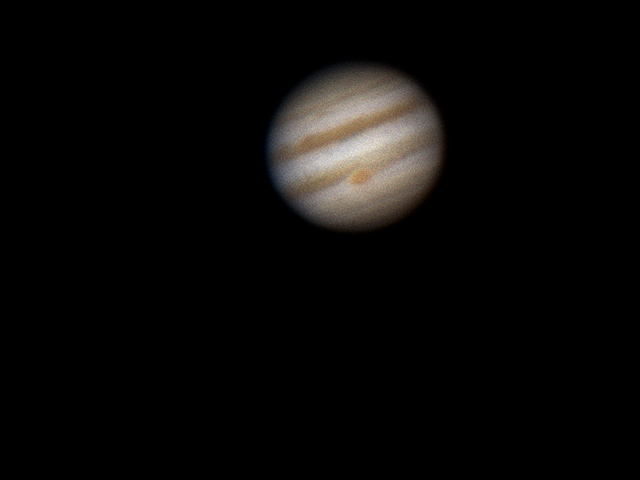
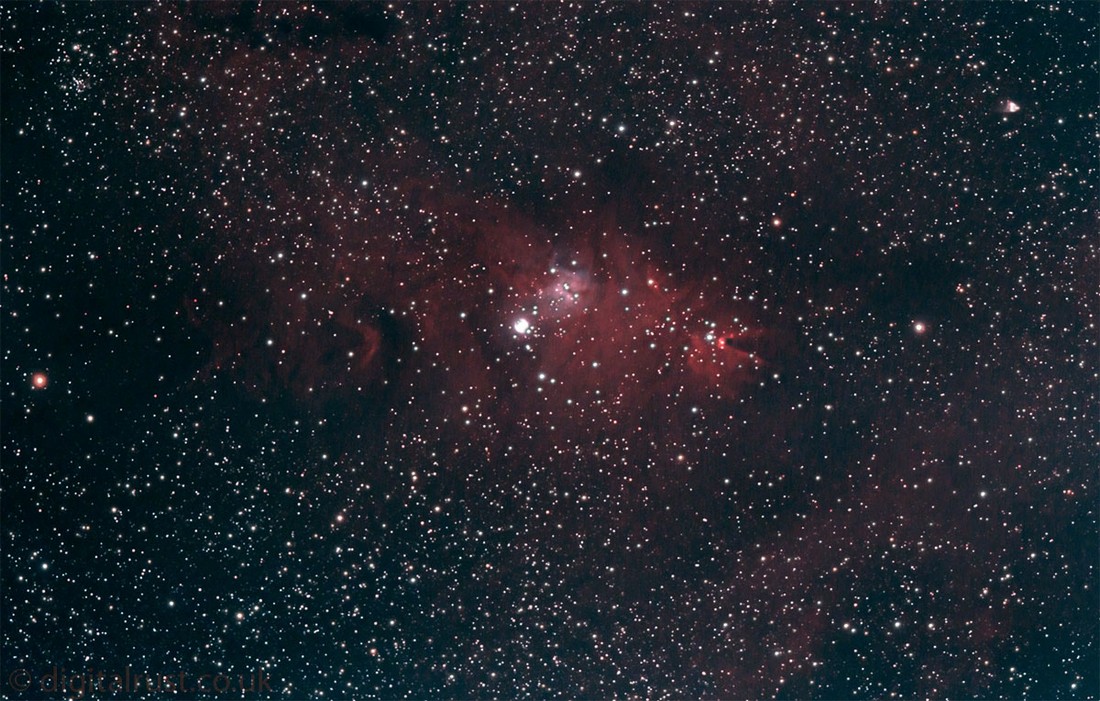
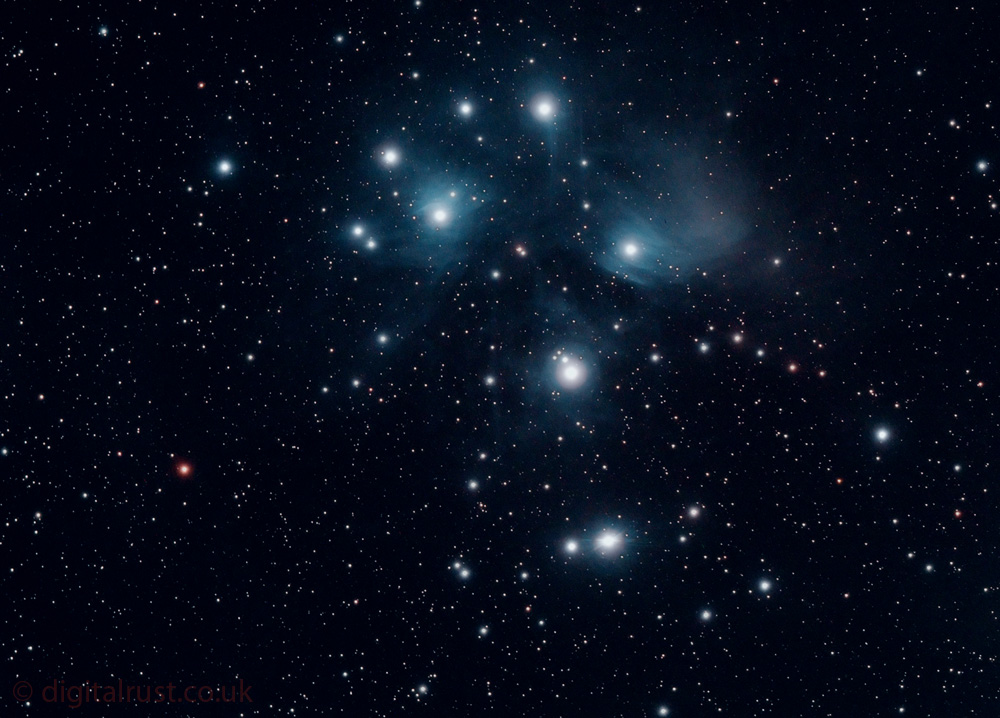
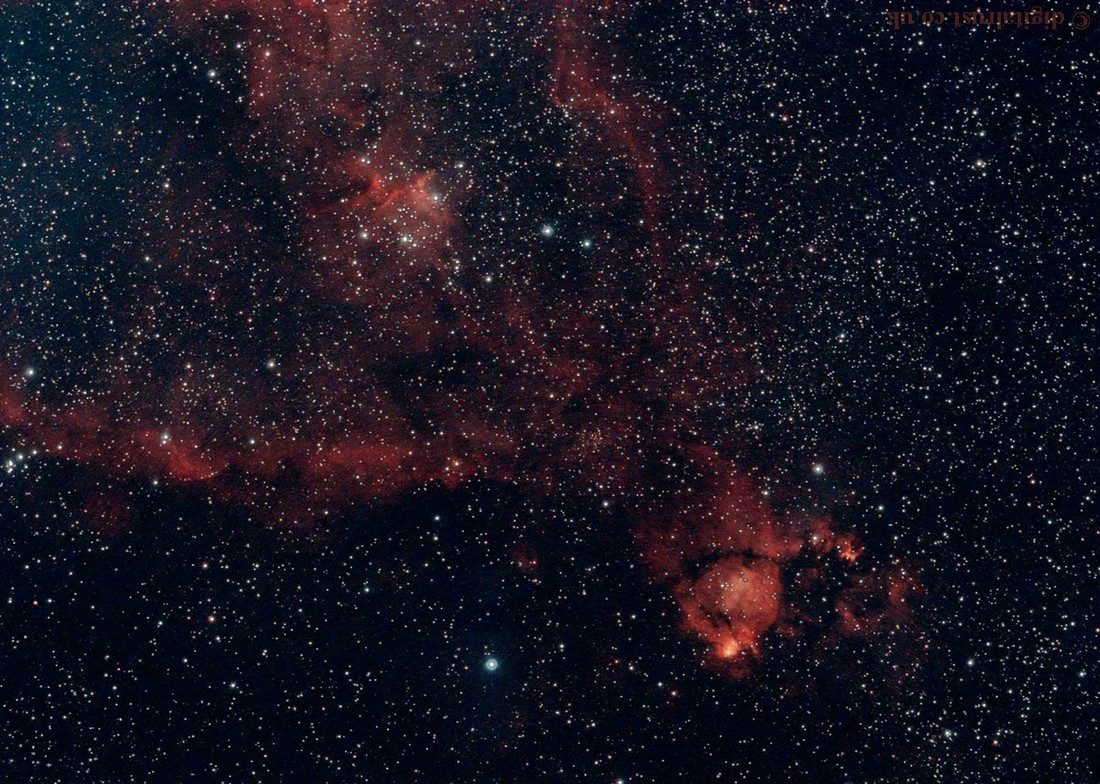
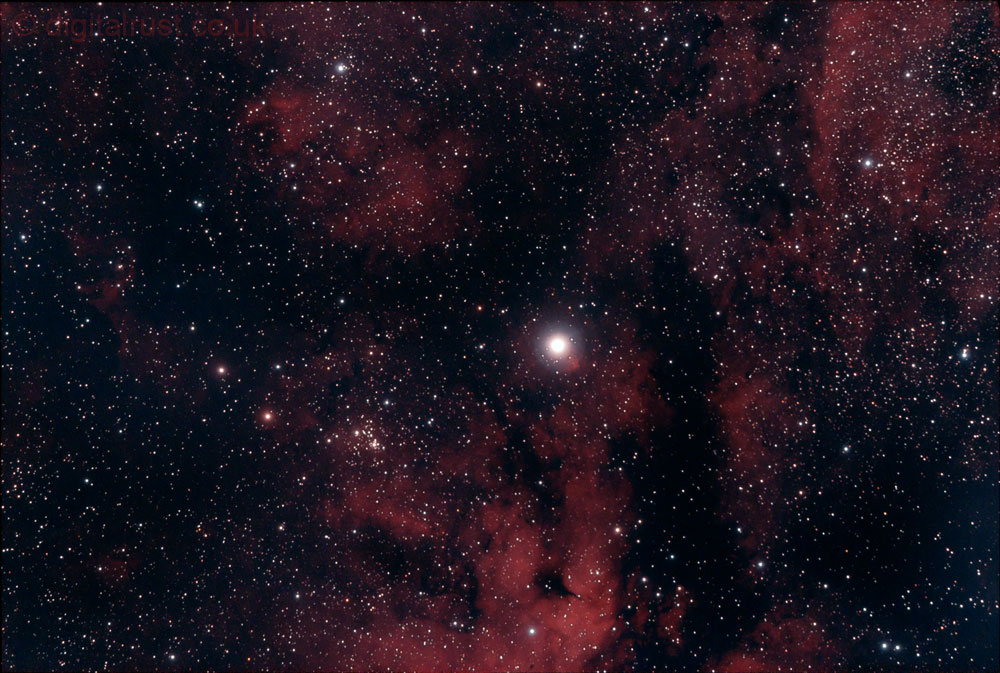
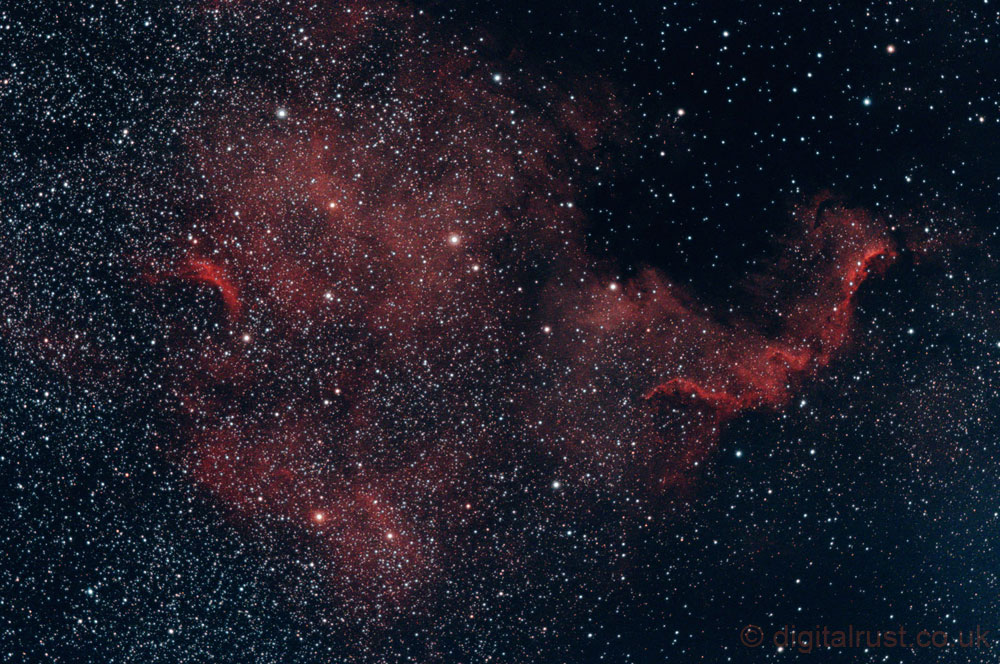
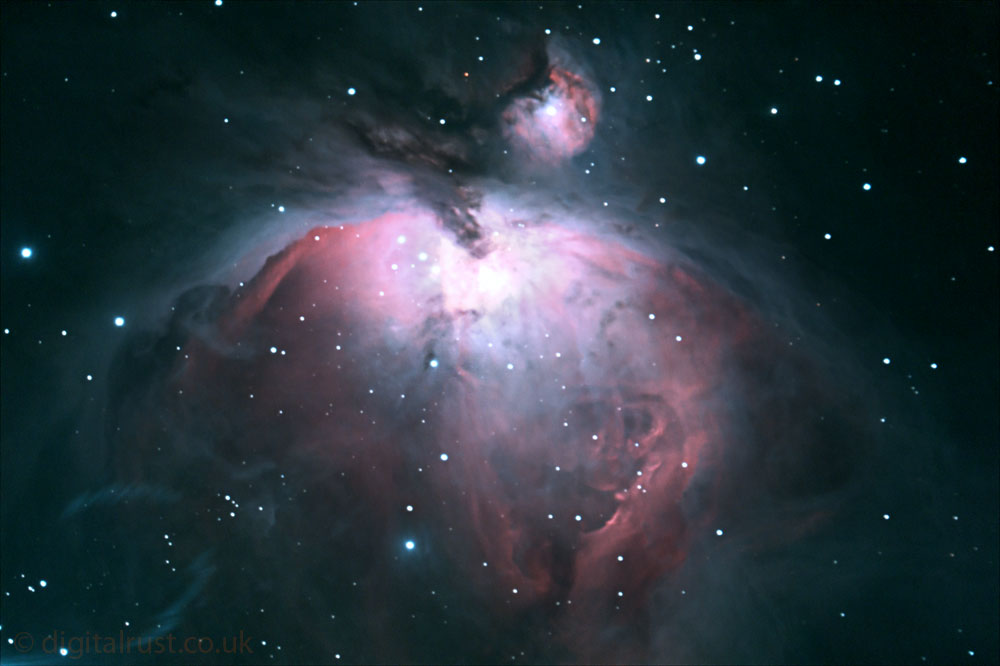
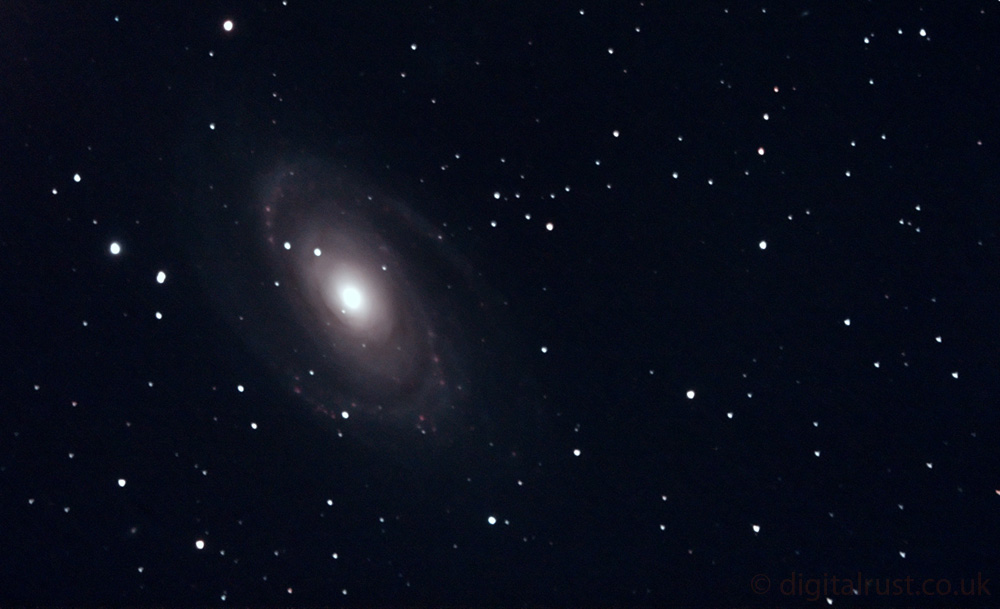
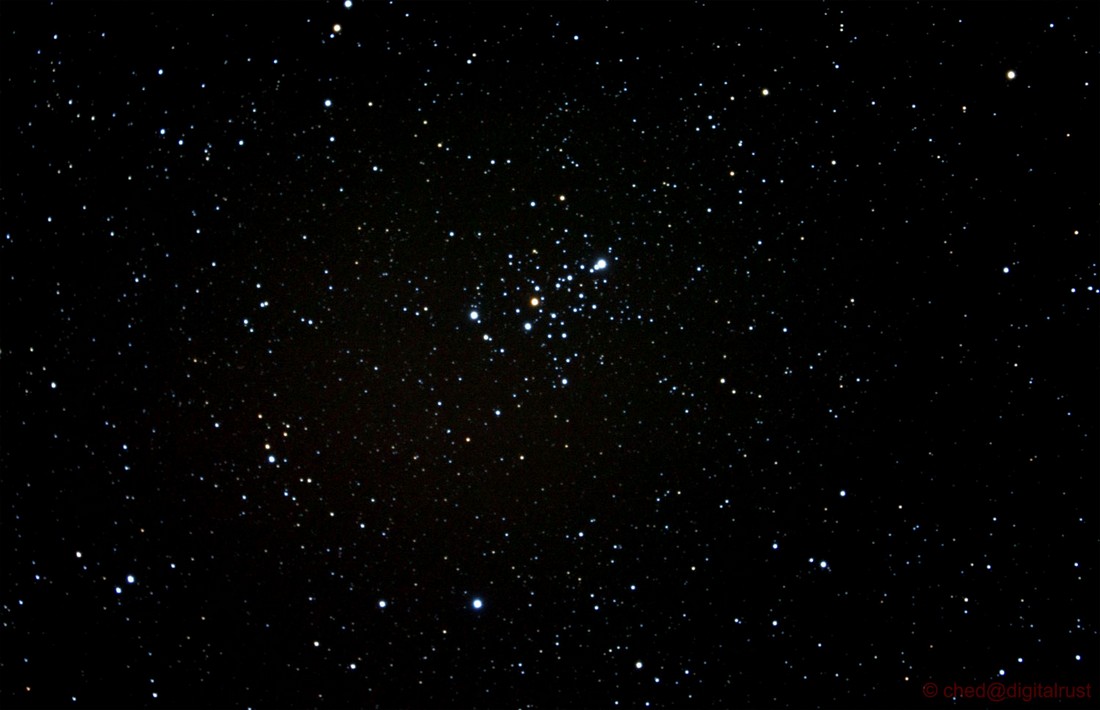
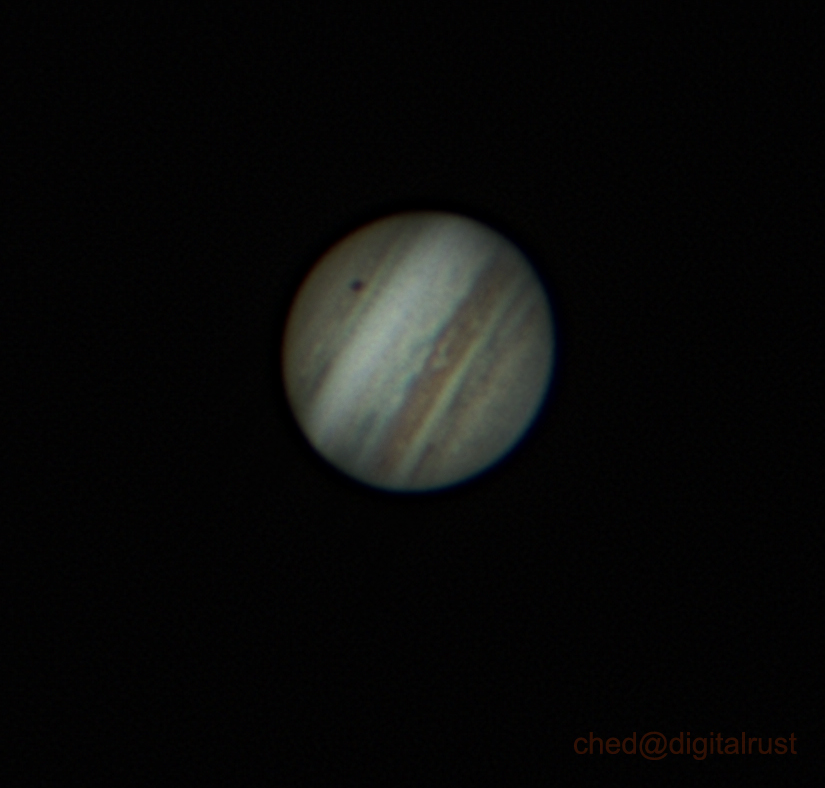
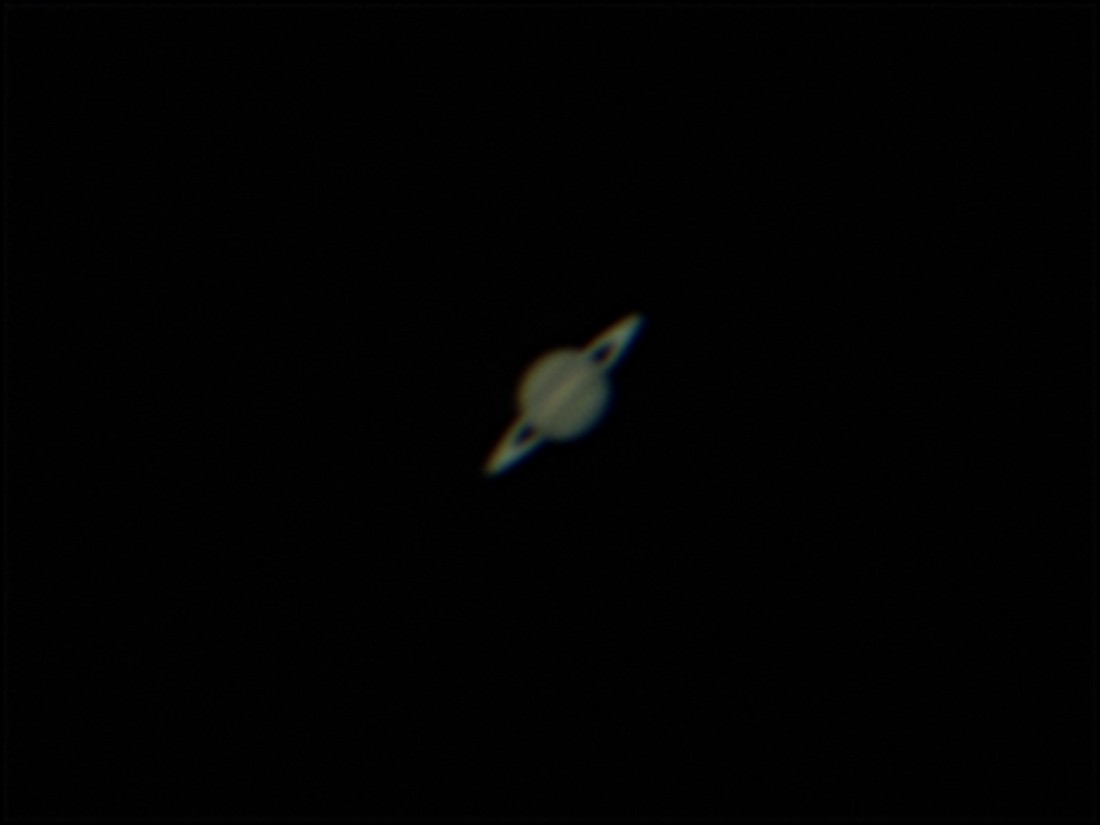
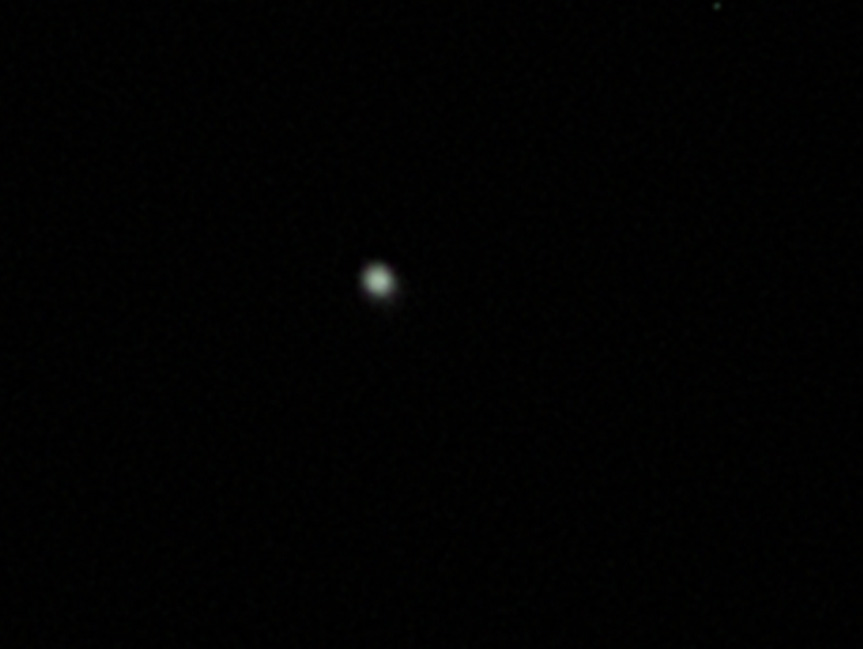
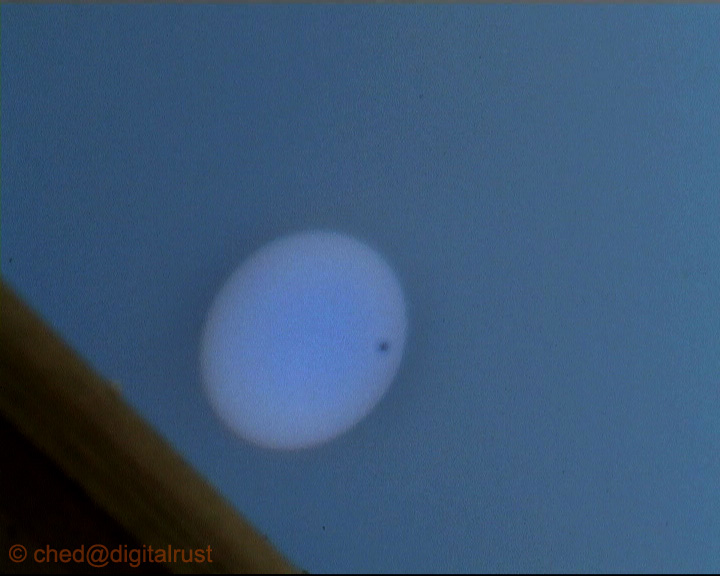
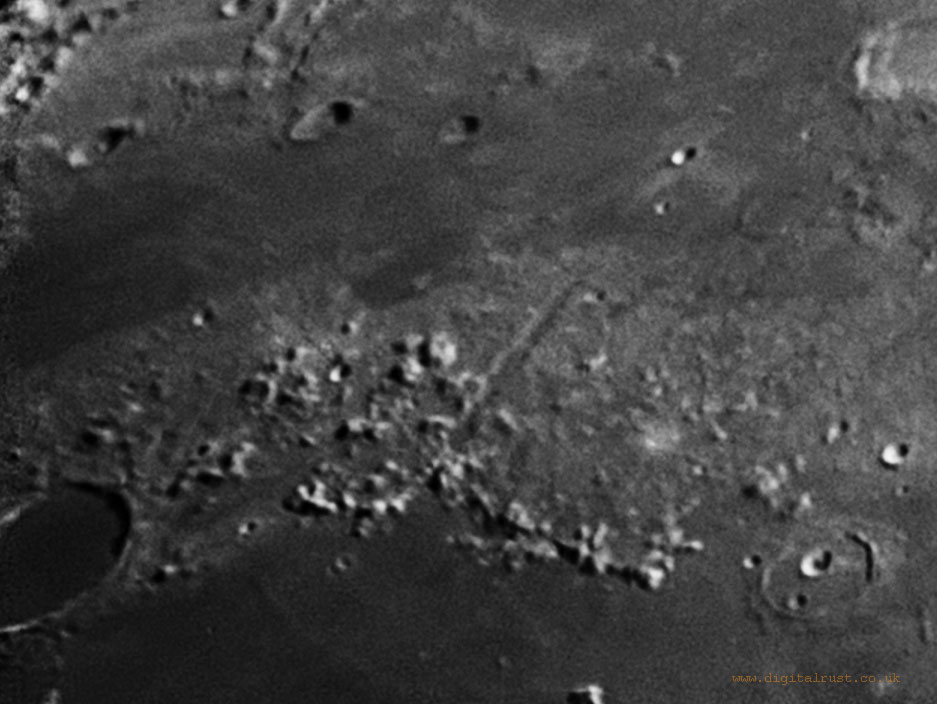
Here are a number of photographs of astronomical objects I have taken using modest equipment from my back yard in the U.K All these pictures were taken using the hardware listed on my equipment page. If you click on a thumbnail a larger version of the photo will appear along with a short description of the object with the most recent images at the top.
The full size images are posted on my flickr site here